-40%
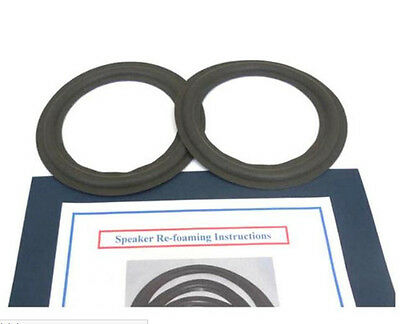
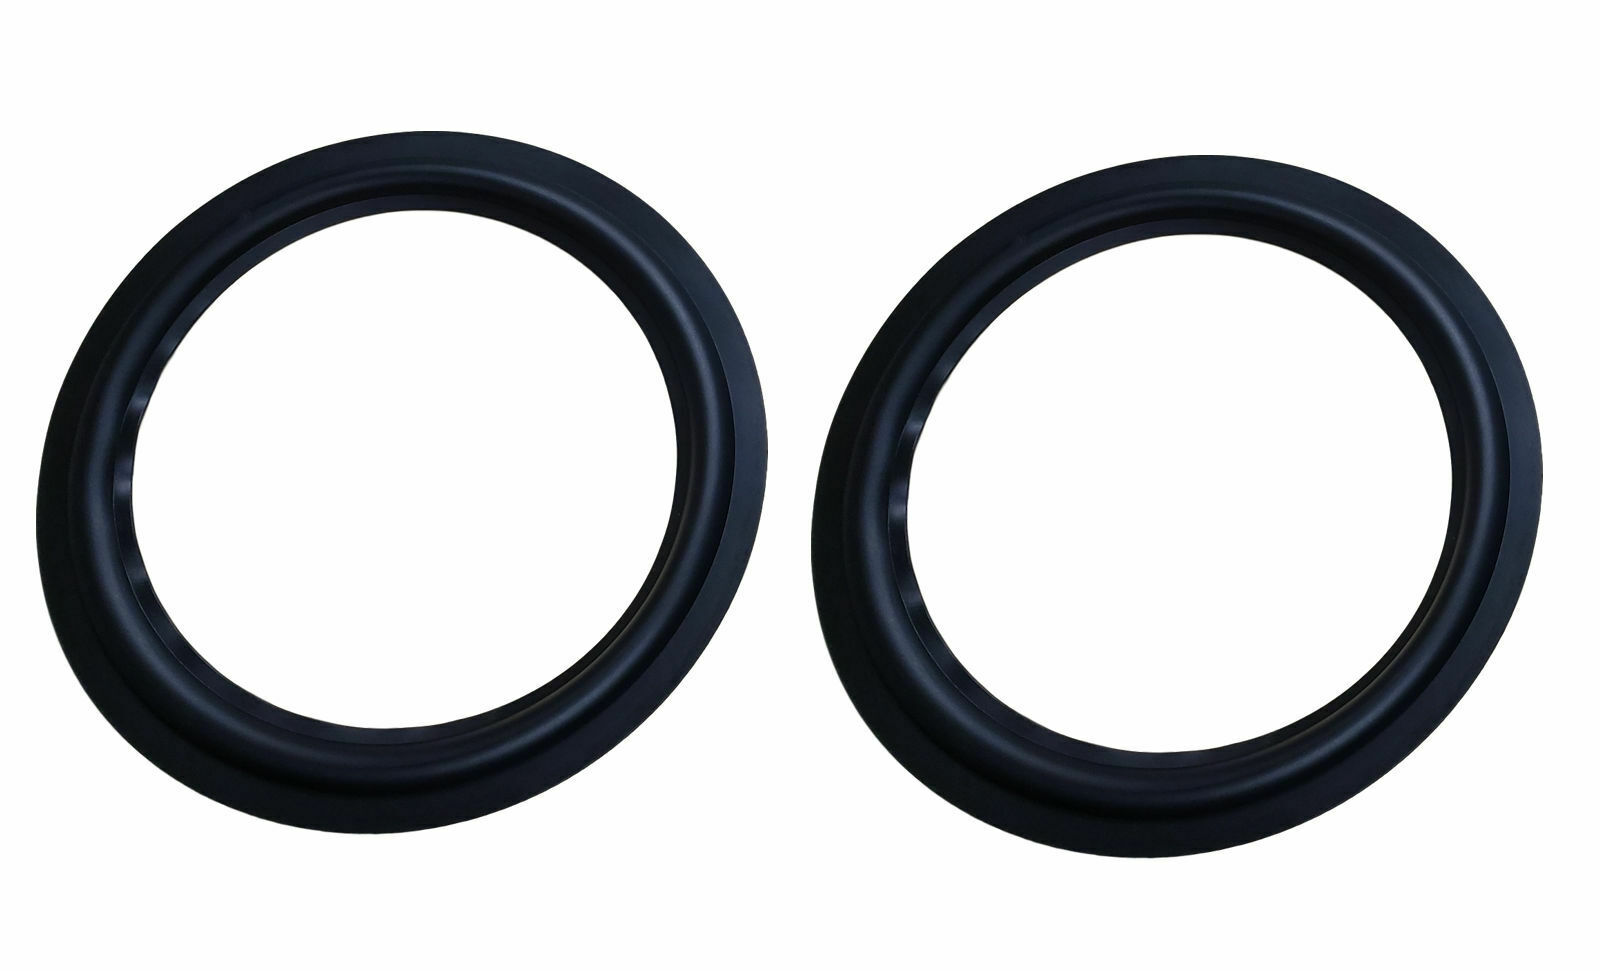
6.5” Speaker REFOAM Kit for Klipsch ProMedia 2.1 4.1 Subwoofer Rubberized Glue
$ 7.6
- Description
- Size Guide
Description
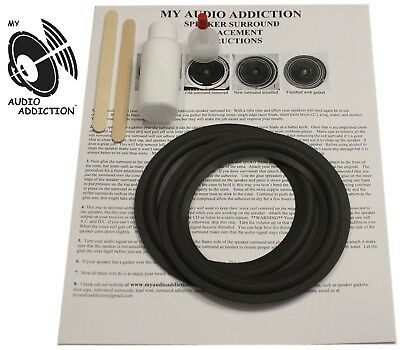
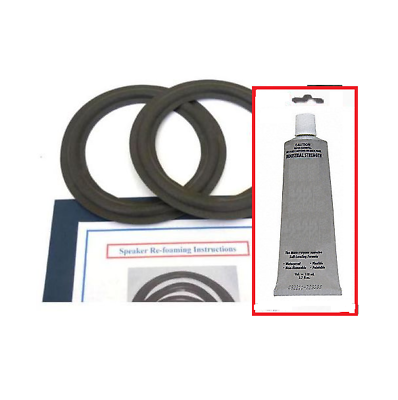
This speaker refoam kit uses a rubber surround, rather than the original foam surround, which tends to crumble after 15 years. A small bottle of rubberized speaker glue is included. (The bottle for a single kit is not filled, but contains more glue than the amount I use for refoaming one speaker--see photos). Ships with USPS First Class.This is for a single Klipsch ProMedia 6.5" subwoofer driver, used on the ProMedia 2.1 from 2000-2018, and on the v.2-400 and 4.1 (all years). The 4.1 and v.2-400 use dual speakers, so two kits would be needed for refoaming both of their speakers.
Here is a sample of one way a refoaming may be done:
1) Heat up the outer plastic ring and metal frame outside on a hot day, or with a heat gun or hair dryer, to loosen the adhesive that holds the plastic ring to the metal frame.
2) After removing the plastic ring, remove the old foam surround and scrape away the outer edge of the foam surround. That outer edge (about 1/4" wide) was glued onto a paper base on the outer metal frame. Scraping down to bare metal is not necessary, but you don't want excess old paper on the metal frame. If
the new surround will be glued to the top side of the paper cone, then r
ubbing off the old foam that was glued to the bottom of the paper cone is not necessary. You may still rub off that old foam, but be careful in reaching beneath the paper cone that you do not push too hard and cause a crease in the paper cone.
3)
Practice moving and locating the
rubber surround without glue applied. I hold it at four spots, using four
fingers from both hands to support the flexible surround.
Apply glue first only to the
top
, outer 5/16" of the paper cone and apply glue to the
bottom
of the inner flat lip of the new rubber surround. You do not want so much glue that it drips or runs, but the initial glue will soak into the paper, so apply enough glue that there is adhesive on the surface of the paper to bond both parts. You are
only
gluing the inner, smaller diameter section of the rubber surround to the paper cone in this step! The outer edge of the surround waits for a separate step,
after
the inner edge has been centered and mounted. If you apply glue to all the surfaces at the same time, it is too easy for the surround to stick to your fingers and to stick in a position that is not correct.
4) The key is this part: lining up the new surround and keeping it round as you place it over the paper cone and centered relative to the outer edge of the speaker's metal frame. The spider beneath the cone will hold the paper cone centered if you do not disturb it. No spacers nor removing the dust cap have been necessary. If you happen to be refoaming more than one speaker (e.g., doing both speakers for a v.2-400 or 4.1 system), then you can temporarily stack both rubber surrounds together and glue only the bottom rubber surround in your dual stack to the speaker. The top surround then adds rigidity to the bottom surround to help keep it round. Only start to press the two glued surfaces against each other after you are comfortable that the surround is still round, not stretched, and that the outer edge of the rubber surround is spaced evenly from the outer edge of the speaker frame (typically there is a gap of about 3/16").
5) After letting that adhesive cure for 15 minutes or longer, glue the remaining outer,
bottom
edge of the rubber surround to the outer flat
top
surface of the metal frame of the speaker. One way to proceed is to start on one quarter, and work one quarter of the circle at a time, moving around in a circle until all four quarters are glued. Lift up one portion of the rubber surround, apply glue to 1/4 of the circle, then apply glue to the bottom surface of the matching 1/4 of the rubber surround. Work around the outer edge of the speaker and the rubber surround, applying glue to both surfaces. After gluing all 360 degrees, press the two materials together, repeating until the rubber stays sealed against the paper cone (inner edge) or the metal frame (outer edge of surround). When you press in the middle of the dust cap, the cone should move in and out without any rubbing or scratching. The rubber suspension will give more stiffness to the movement than an old, tired foam surround.
6) After the outer edge adhesive has cured a few hours or overnight, you may trim away 1/8" of rubber surround that overlaps and partially covers the four mounting holes for the speaker.
(See photo).
7) Apply small dabs of remaining glue or some other adhesive every inch or two around the metal outer edge of the speaker, then press the plastic trim ring onto the metal frame. To keep the plastic trim ring seated as the glue cures, place the speaker face down on a smooth surface and place a weight on the magnet or use four screws to pull the speaker frame snug against a flat surface or a second 6.5" speaker (if you are refoaming a pair). (see photo).


